
Address
Studio 03
SUM Studios
1 Hartley Street
Sheffield
S2 3AQ
[email protected]
0114 399 1023
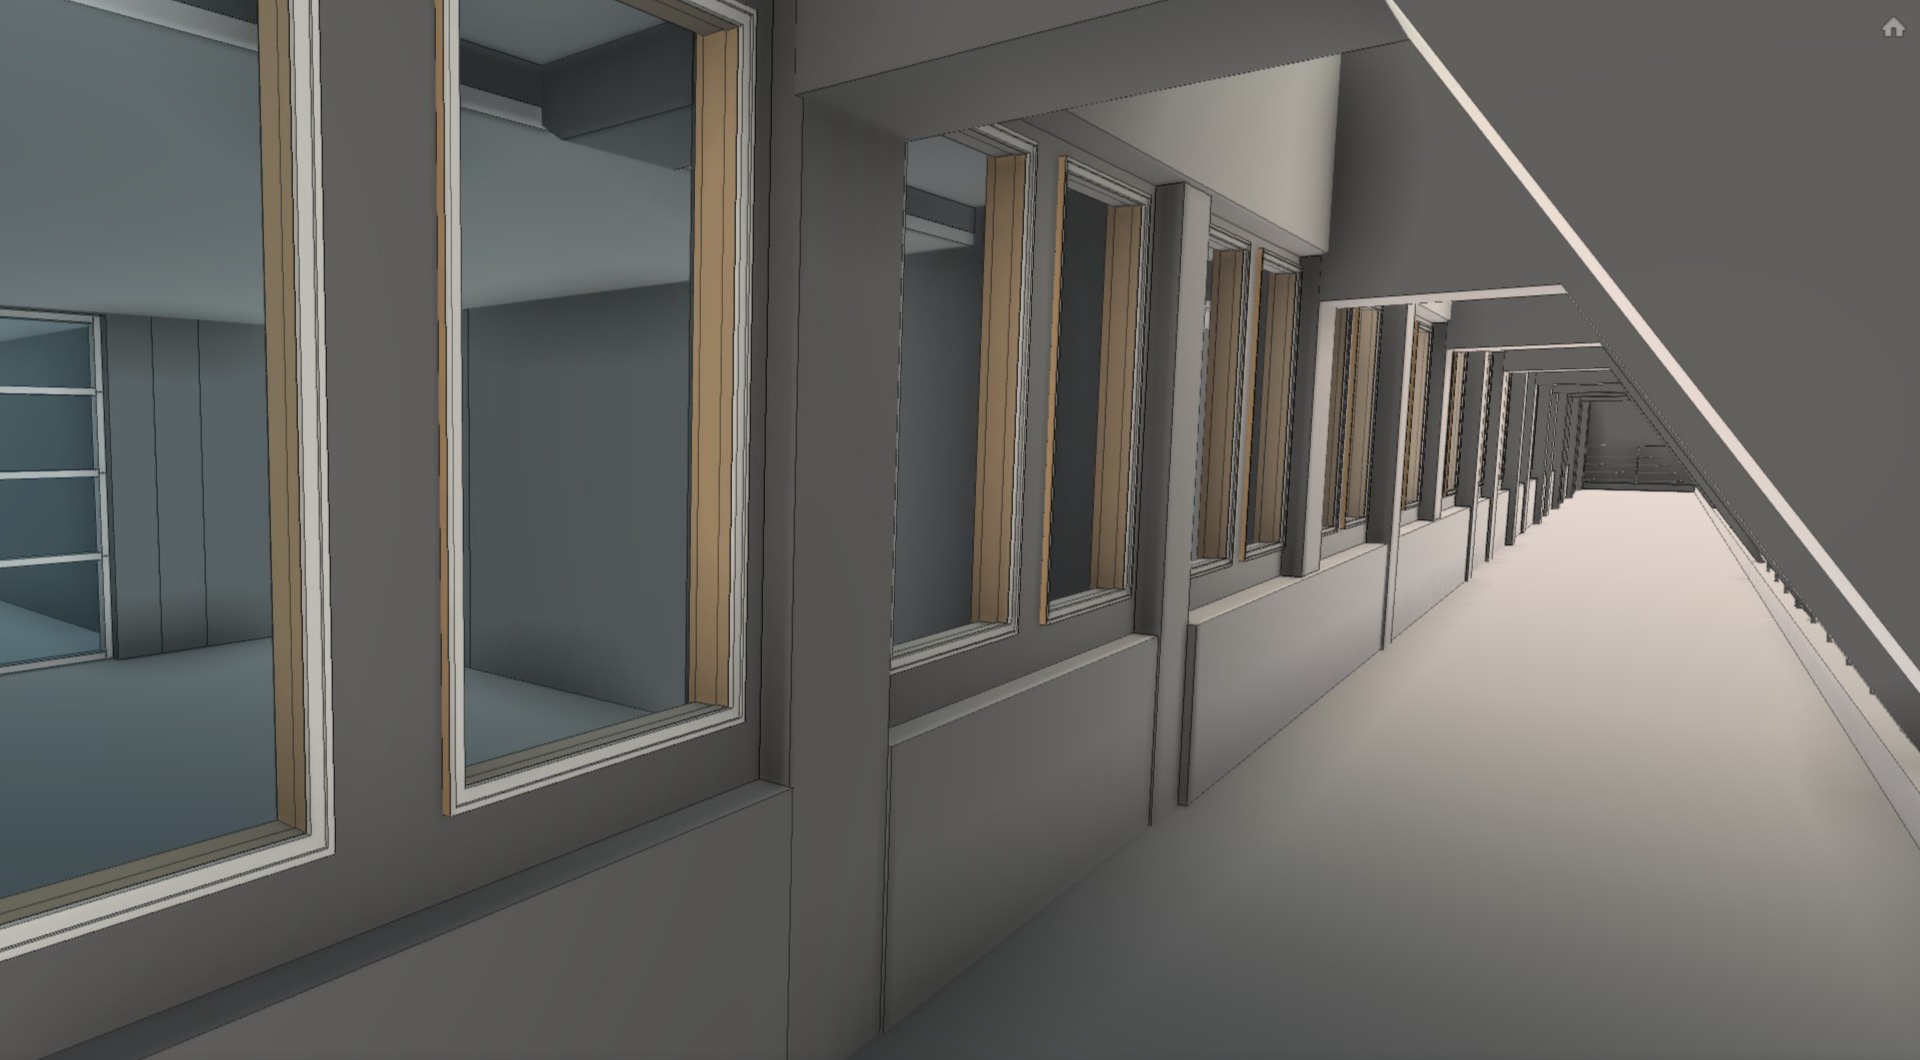
When requesting a Scan to Revit quote, the quality of the information you provide directly impacts the accuracy of the pricing, programme, and final deliverable.
A vague Scan to Revit brief often leads to an unclear scope, assumptions, price variations, and unnecessary revisions later in the project. By providing the right information from the start, you help ensure that your Revit model is fit for purpose and that your supplier can provide an accurate and reliable quotation.
In this guide, we explain the key information to include in a Scan to Revit brief and provide a practical checklist to use before submitting your enquiry.
Every Scan-to-BIM project is different.
The modelling requirements for a simple architectural floor plan differ significantly from those needed for a detailed BIM model that includes structural and MEP elements. Without a clear understanding of the project’s objectives, suppliers are often forced to make assumptions when preparing a quote.
A detailed brief helps to:
The more information provided at the enquiry stage, the more accurate and useful the proposal will be.
The first question any Scan to Revit provider will ask is:
What will the Revit model be used for?
The intended use determines the level of detail, modelling scope, and information that needs to be included.
Common uses include:
For example, a model intended for concept design may require a much lower level of detail than one used for detailed design coordination.
Including the project’s intended use helps ensure the model is developed to the appropriate standard.
Clearly define which parts of the building need to be modelled.
This should include:
Just as importantly, identify any exclusions.
Examples might include:
A clear measured building survey brief prevents assumptions and helps avoid unnecessary modelling costs.
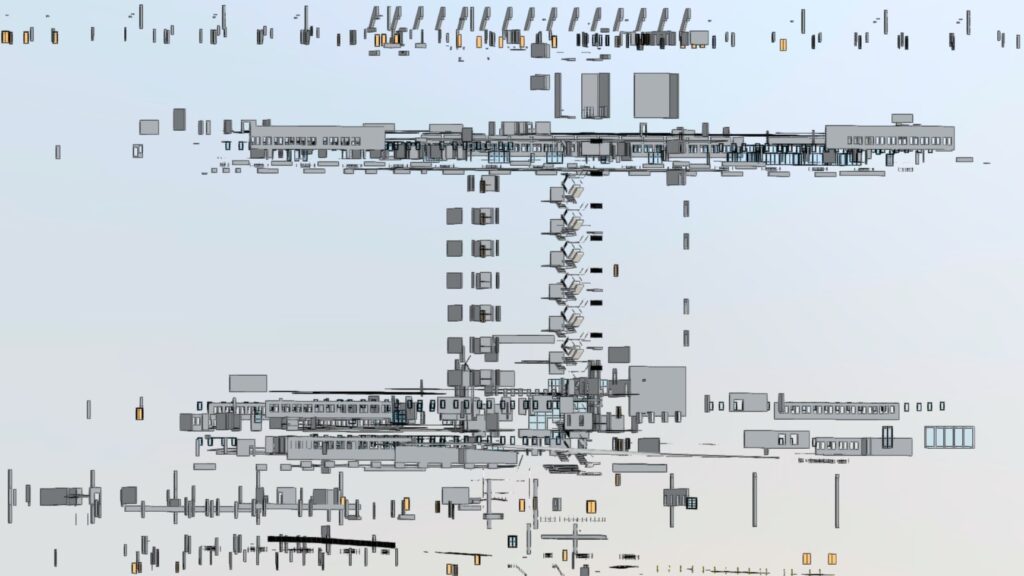
Not every project requires the same building components.
Your Scan to BIM brief should clearly state which disciplines and elements need to be included.
Typical architectural components include:
Structural modelling may include:
MEP requirements can vary significantly between projects.
Common examples include:
Providing clarity on required model elements helps ensure your Revit model quote accurately reflects the required scope.
One of the most important parts of any Revit survey brief is specifying the required Level of Detail (LOD).
LOD requirements vary considerably depending on project objectives.
Typical examples include:
Suitable for general arrangement, planning and concept design.
Suitable for design development and coordination.
Includes additional interfaces and connections between building systems.
Typically used for fabrication and construction-level detail.
If you are unsure which LOD is appropriate, explain the intended use of the model and your supplier can recommend the most suitable level.
Different projects require different levels of accuracy.
Questions to consider include:
Clearly defining accuracy expectations helps align survey methods, modelling processes and deliverables.
Site conditions can significantly affect survey planning and project delivery.
Useful information includes:
Early identification of site constraints allows the survey team to plan effectively and avoid delays.
Different project teams work in different software environments.
Your brief should confirm:
Providing these details early helps ensure compatibility with your project workflow.
Timescales are often a key factor in project planning.
When requesting a quote, provide:
Knowing the programme upfront allows suppliers to assess resource availability and provide realistic delivery schedules.
Before requesting a quote, make sure you can answer the following questions:
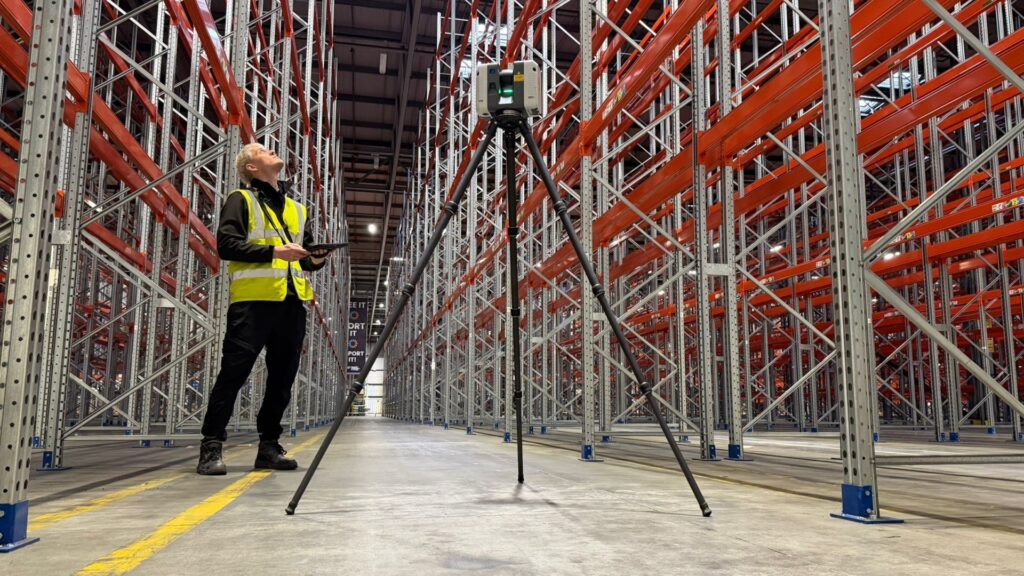
A well-prepared Scan to Revit brief benefits everyone involved in the project.
It allows your supplier to provide a more accurate quote, reduces the risk of scope changes, and ensures the final Revit model delivers the information your team actually needs.
By clearly defining your project objectives, required areas, model elements, level of detail, accuracy requirements, deliverables, and programme, you create a stronger foundation for both the survey and modelling process.
If you are unsure about any of the requirements discussed above, it is worth speaking with an experienced Scan-to-BIM provider before requesting pricing. A short discussion can help identify the most appropriate survey scope, modelling requirements, and deliverables for your project.
At Scene3D, we help architects, engineers, BIM coordinators, project managers, and property professionals define the right survey and modelling scope before work begins.
Use our Scan to Revit briefing checklist or send us your project requirements, and our team will advise exactly what information is needed to provide an accurate and reliable quote.