Address
Studio 03
SUM Studios
1 Hartley Street
Sheffield
S2 3AQ
[email protected]
0114 399 1023
In today’s digital world, visual content has become a powerful means of engaging customers and audiences. Matterport 3D scans take this a step further, offering fully immersive virtual experiences of real-world spaces. Whether for real estate, retail, construction, or tourism, a Matterport scan helps bring a space to life online.
But have you ever wondered what happens behind the scenes? In this blog, we’ll explore the full lifecycle of a Matterport scan — from the initial capture on site to delivering the finished model in the cloud.
Before the camera starts rolling, proper preparation is key to a smooth scanning process. The goal is to ensure the space looks its best and is ready to be captured.
Here’s what typically happens:
Good preparation results in a faster scanning process and a better-quality final model.
To see exactly how to prepare your space for the best results, watch this short video guide:
Once the space is ready, it’s time for on-site capture using a Matterport Pro camera or other compatible 3D capture device.
The process works like this:
Scanning time can take anywhere from 30 minutes to several hours, depending on the size and complexity of the location.
Want to understand what actually happens during a Matterport shoot? Watch this quick walkthrough:
Once the on-site scan is complete, the next stage is to upload the raw scan data to the Matterport Cloud for processing.
Here’s how it works:
Processing time can vary, but it usually takes a few hours for most spaces. Larger or more complex environments may require longer processing times.
Once the initial 3D model is generated, it enters the post-processing stage.
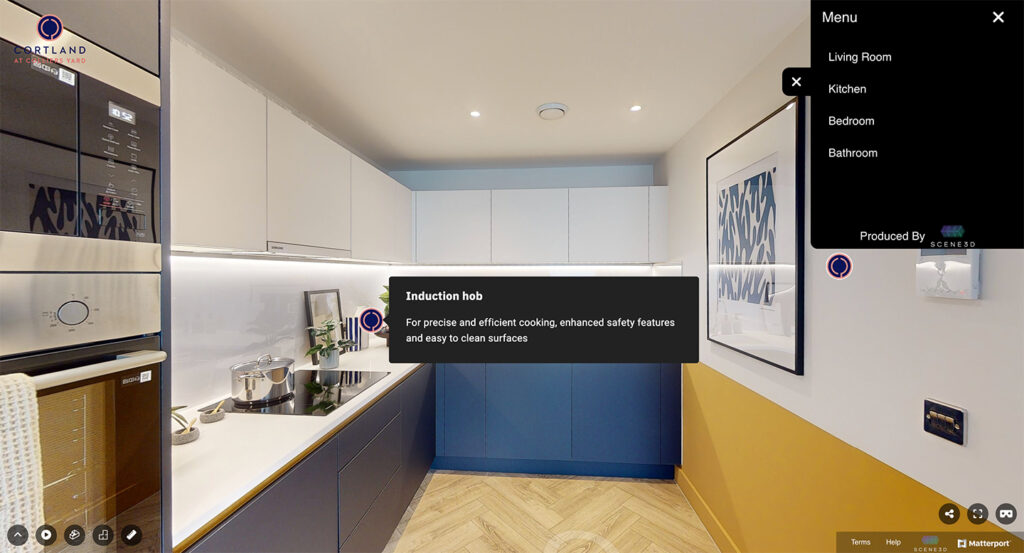
At this point, the operator can access the model in the Matterport platform and make refinements:
This step ensures that the virtual tour is polished, professional, and tailored to the intended audience.
To see how Mattertags and data points enhance a virtual tour, watch this video:
When the model is finalised, it’s ready to be published.
Matterport models are hosted in the cloud and accessible via a secure URL. From here, clients can:
A published Matterport scan provides a flexible and interactive way for users to explore the space at their own pace, anytime, anywhere.
To learn how to get the most out of your virtual tours, watch these best practices in action:
Once live, Matterport models can continue to be updated and managed:
This ensures that your Matterport content remains valuable and relevant long after the initial scan.
The journey of a Matterport scan — from initial preparation to published cloud-based model — is a fascinating blend of art, technology, and storytelling. The result is a dynamic 3D experience that allows viewers to engage with spaces in a completely new way.
For businesses in commercial real estate, construction, retail, hospitality, and other industries, a Matterport 3D tour is a powerful tool for visual marketing, remote collaboration, and enhancing customer engagement.
At Scene3D, we provide professional Matterport scanning services that help businesses and property owners bring their spaces to life. From on-site capture to cloud delivery, we handle the entire process with expertise and attention to detail.Whether you need a single space scanned or a complete portfolio of virtual tours, our team is here to help. Contact us today to learn more about how we can support your Matterport projects.