
Address
Studio 03
SUM Studios
1 Hartley Street
Sheffield
S2 3AQ
[email protected]
0114 399 1023
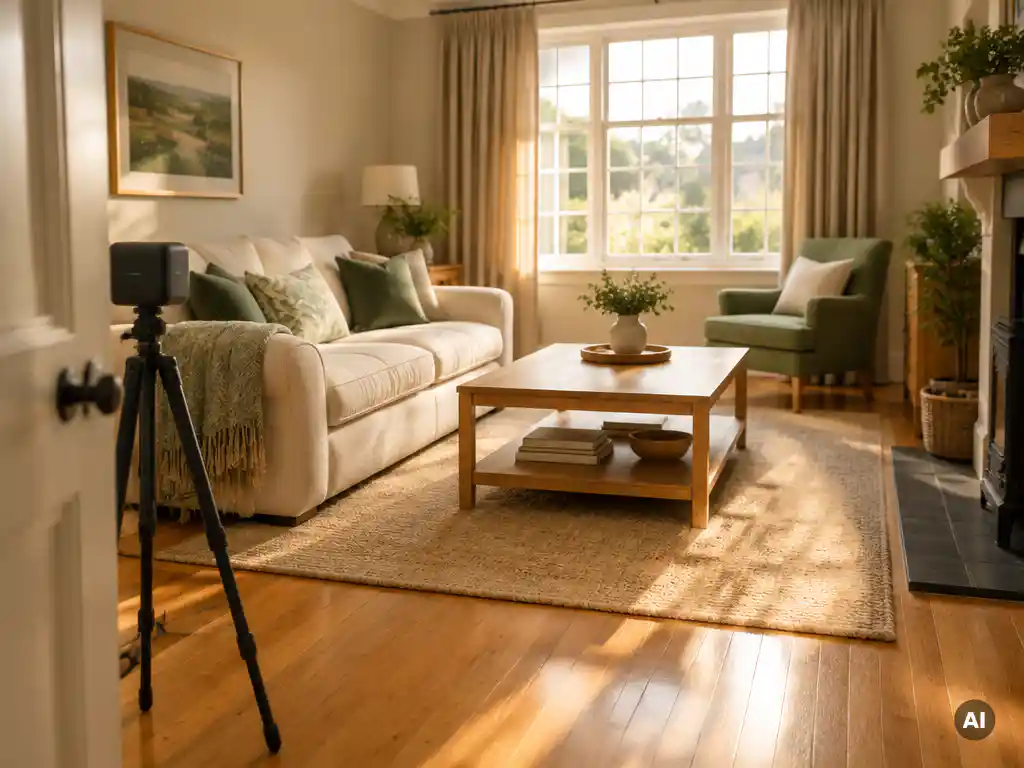
Before a property is scanned for a virtual tour, homeowners should declutter surfaces, switch on all lights, open blinds, cover or manage mirrors, arrange for people and pets to be out of shot, and confirm access to every room. A tidy, bright, fully accessible home gives the scanner a clean capture and produces a more appealing tour.
Most of this preparation takes an hour or two, not days. The goal is not to stage a show home, but to remove distractions and obstacles so viewers can focus on the space itself. The sections below cover each step in the order that matters most.
A home needs enough decluttering that surfaces are largely clear, floors are open and personal items are put away. A 3D scan captures every angle of a room, so anything left out becomes part of the tour. Aim for a lived-in but tidy look, not an empty one.
Because viewers can move through the space in every direction, there is no “hidden side” of the room. Clutter that would be cropped out of a single photograph will be visible in the finished tour.
Focus your effort on the areas viewers notice most:
Remove personal and sensitive items too. Post, documents, family photographs and anything displaying a name or address are best stored away, since a virtual tour may be shared widely online.
Keep furniture in place. Furniture gives viewers a sense of scale and helps them judge how a room could be used, so only move pieces that block doorways or make a room feel cramped.
Lighting for a 3D scan should be bright and even. Turn on every light in the property, open all blinds and curtains, and replace any blown bulbs beforehand. Good lighting helps the scanner capture accurate colour and detail, and it makes the final virtual tour feel open and inviting.
Natural light is your biggest asset, so schedule the scan for daytime when possible. Rooms that feel dark in person will look darker in a tour, so layering artificial light on top of daylight is worthwhile.
Check these points before the scan:
On very bright days, strong sunlight can create harsh patches near windows. If the sun is streaming directly into a room, sheer curtains can soften it without making the space feel dim.
Mirrors, windows and glossy surfaces should be cleaned, and large mirrors should be angled or covered so they do not reflect the scanner or equipment. Reflective surfaces can confuse scanning sensors and create visible distortions in a virtual tour, so managing them in advance gives a cleaner result.
Scanners capture depth by reading how light and distance behave across a space. Highly reflective or transparent surfaces can interfere with that process, which is why they deserve extra attention.
Some practical steps help:
You do not need to hide every reflective surface. The aim is simply to reduce the largest and most distracting reflections, and an experienced scanning team will advise on anything that needs adjusting on the day.
Ideally, yes. People and pets should leave the property or stay out of the rooms being scanned, because a 3D scan captures a full view of each space and anyone moving through it can appear in the tour or disrupt the capture. A quiet, empty home produces the cleanest result.
Scanning works by capturing each room from set positions, and movement during that capture can cause ghosting or gaps. If people need to be at home, ask them to wait in a room that has already been scanned or one that is yet to be done, and to keep out of the scanner’s way.
Pets need particular thought:
Letting your scanning team know in advance about anyone who will be present helps them plan the order of rooms so the day runs smoothly.
Before the scan, make sure every room, loft, garage and outbuilding included in the tour is unlocked and accessible, parking is available nearby, and the property is open at the agreed time. Confirming these details in advance prevents delays and avoids leaving areas out of the finished tour.
If the property is being marketed through an estate agent, check who is responsible for providing keys and being on site. A short checklist keeps everyone aligned:
External areas matter more than many homeowners expect. The first view of a tour is often the front of the property, so a swept path, trimmed hedges and a tidy front garden make a strong first impression.
On the day, the scanning team arrives, walks through the property, then captures each room from set positions using a 3D camera. A typical home is scanned room by room, after which the data is processed into a navigable virtual tour. The visit usually causes little disruption.
The process generally follows these stages:
Homeowners usually do not need to supervise closely. It helps to be available for questions and to stay out of the rooms being captured. Once the visit is finished, the tour is prepared and delivered for review.
Scene3D takes the guesswork out of virtual tour preparation, so homeowners and estate agents know exactly what to do before the visit. Our team supports you at every stage:
Ready to get started? Contact the Scene3D team today to book your scan or ask any preparation questions.