Address
Studio 03
SUM Studios
1 Hartley Street
Sheffield
S2 3AQ
[email protected]
0114 399 1023

So you’ve done the research, found a supplier and booked a date to have your property or business turned into a virtual tour. But how do you best prepare for a virtual tour? What key things do you need to look out for and what are some common mistakes people make?
In this article we’re going to outline how best to prepare for a virtual tour, including some top tips for both residential properties and commercial businesses.
Let’s take a look…
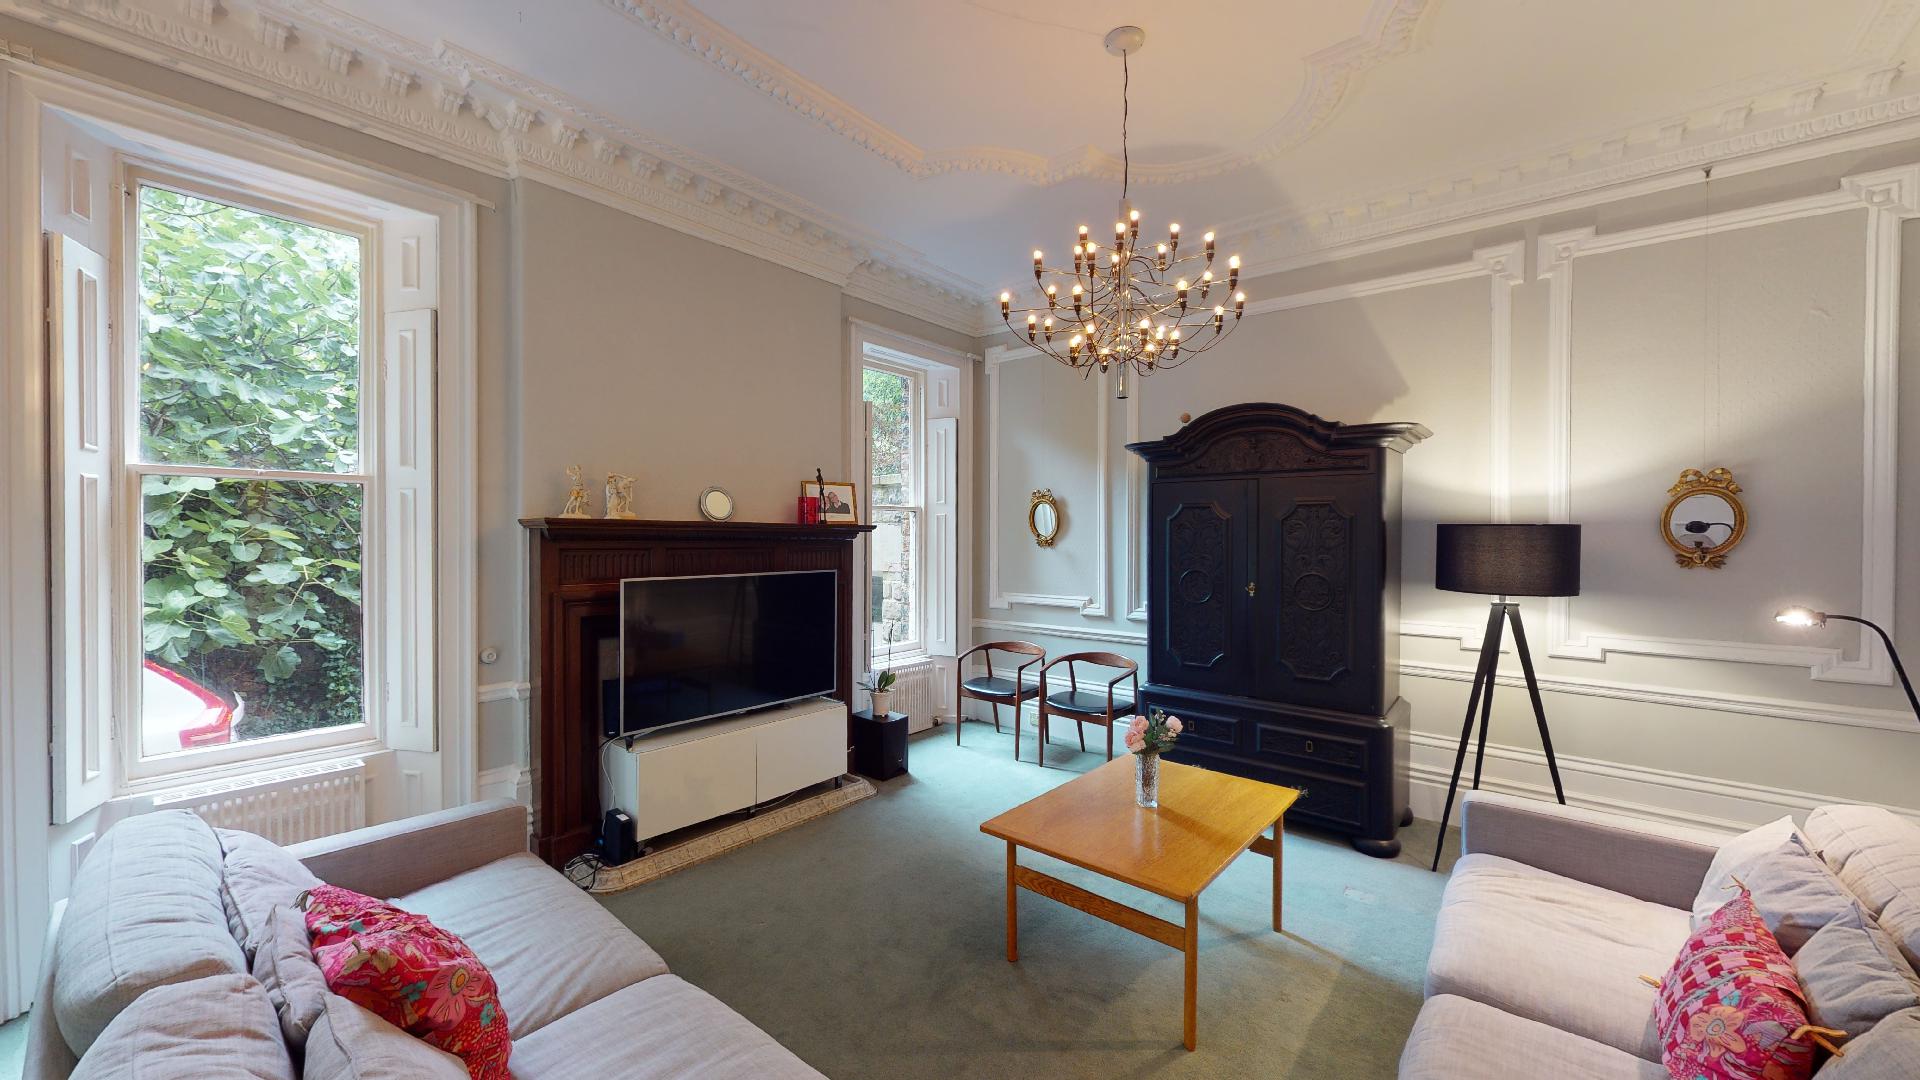
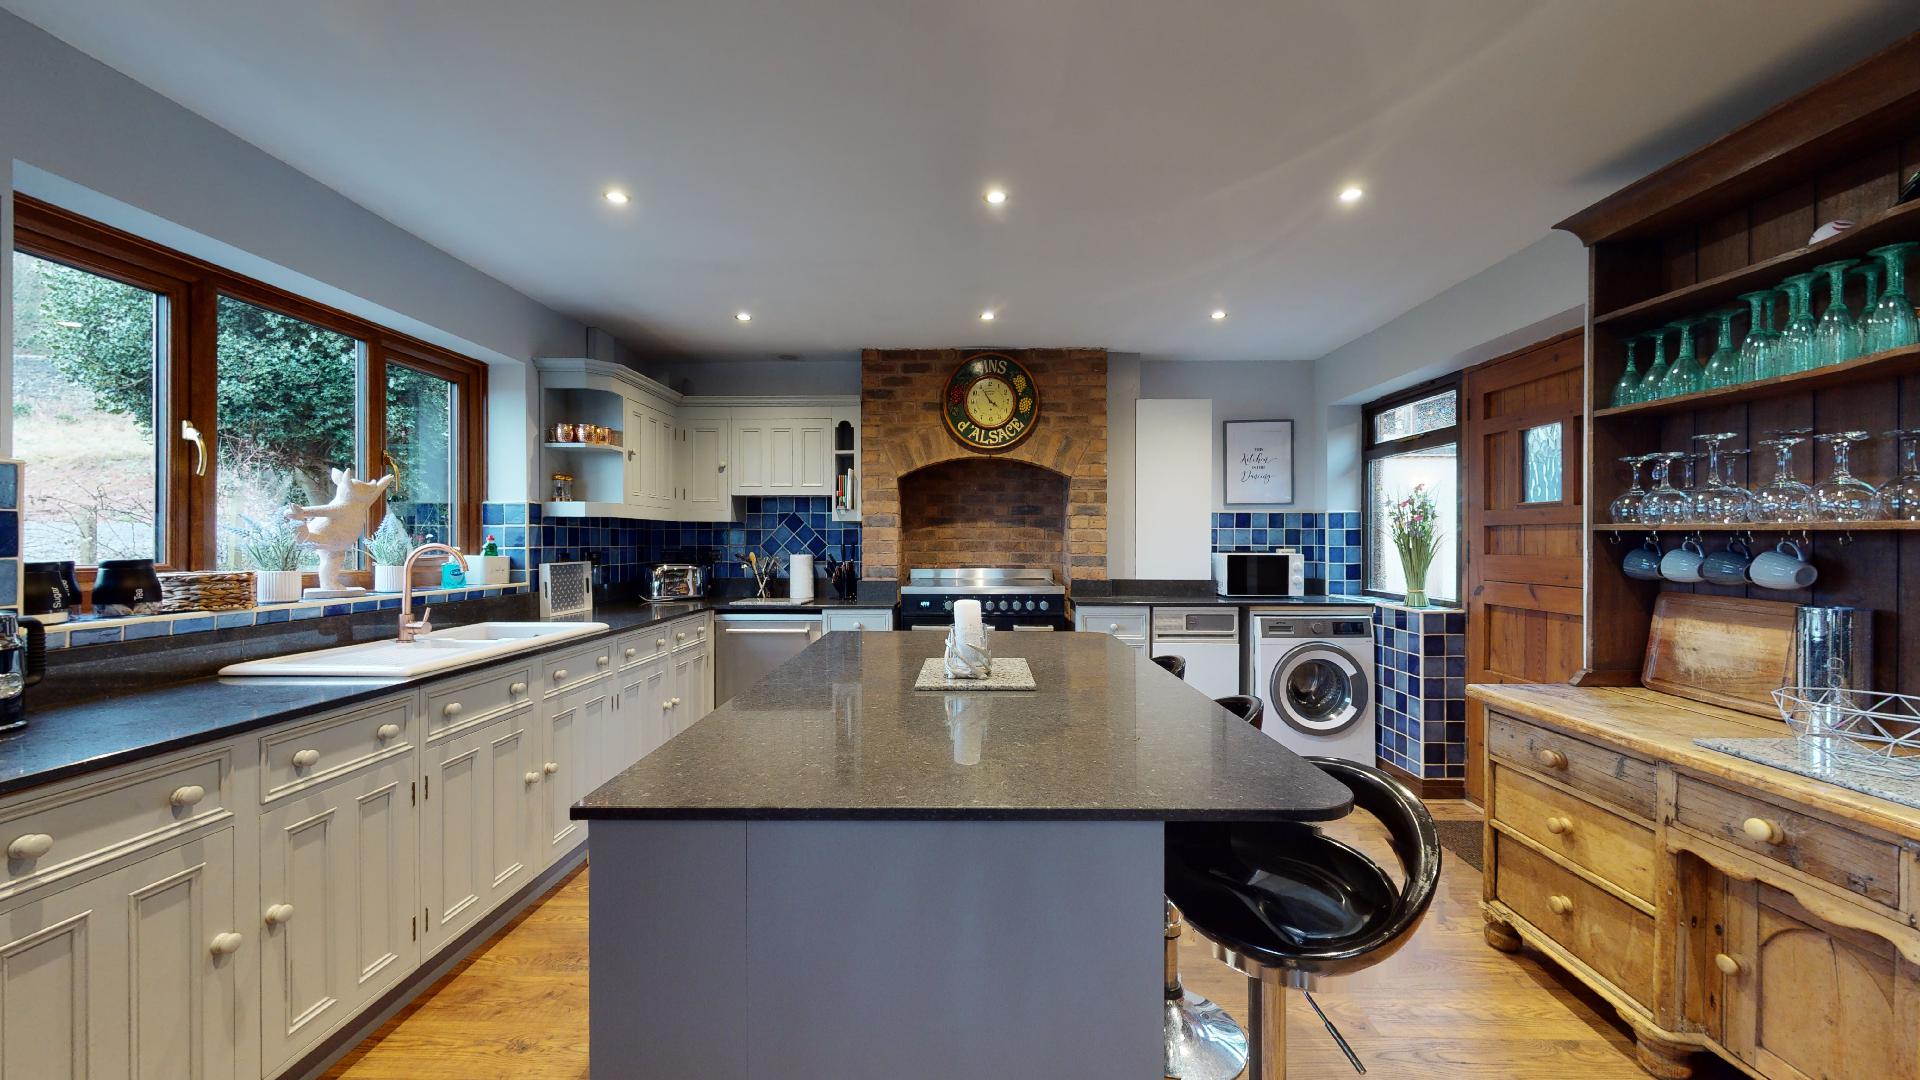
When arranging a virtual tour of a residential property we always recommend providing your supplier with floor plans of your property (if you have them) or some quick photos of each room. Doing this before their arrival means your virtual tour professional has a general idea of the layout of your property before they’re onsite. Having a preview of the layout means your virtual tour professional can identify any potential problem areas in advance and quickly capture the property with minimal disruption to the homeowner.
When it comes to preparing your property for a virtual tour it’s important to make sure that all areas of the home are as you would like them to be presented. Most virtual tour providers use high resolution 360 or 3D cameras to capture all the data necessary to create a virtual tour. This means the final user experience will be extremely high quality. Unfortunately this also means the camera will pick up any untidy areas in just as high quality so it’s important to make sure the property is thoroughly tidied before your virtual tour professional arrives.
It’s also important to ensure you put away any data sensitive pieces of information such as letters, legal documents or personal photographs you may have around your property that you don’t want to be included. Don’t panic if you forget anything though, it’s possible to blur sensitive information in the virtual tour during post production.
Remember: the better your property looks in person, the better it will look once your virtual tour is complete.

When capturing your property, your virtual tour professional will work through the property one room at a time, usually starting from the lowest floor and working their way up. This means it’s entirely possible to move clutter or unsightly items from one room to another to keep them out of the way of the virtual tour. This can be especially handy for things like children’s toys or pet beds which can be tough to find a home for in a decluttered space.
To help make it easy, here is a handy checklist of best practices when it comes to preparing your home for a virtual tour:
When it comes to preparing your office, commercial space or business for a virtual tour, many of the same principles as preparing a residential property still ring true. It’s important to share as much information about your space as possible with your virtual tour provider prior to their visit. It’s important to ensure the space is clean, tidy and free of clutter. And it’s important to consider if any sensitive information could be on show. There are some key differences when it comes to commercial properties however, as commercial spaces are often quite unique.
Virtual tour cameras are designed to capture a highly accurate ‘snapshot’ of a space and so can be affected by any inconsistencies such as a person walking through the shot. To get the very best visuals out of a virtual tour we recommend arranging your virtual tour provider to visit when the site is either closed to the public or footfall is at a minimum. For hard-to-control spaces, it’s beneficial for you to arrange for an on-site staff member to assist your virtual tour provider and keep people out of the area during the scanning process.
It’s also important to consider which areas of your commercial space you would like included in your virtual tour. For some businesses, such as a wedding venue, it may be unlikely you want to show the kitchen or food preparation areas. So ensuring you plan your virtual tour ahead of time can help make the process run smoothly.
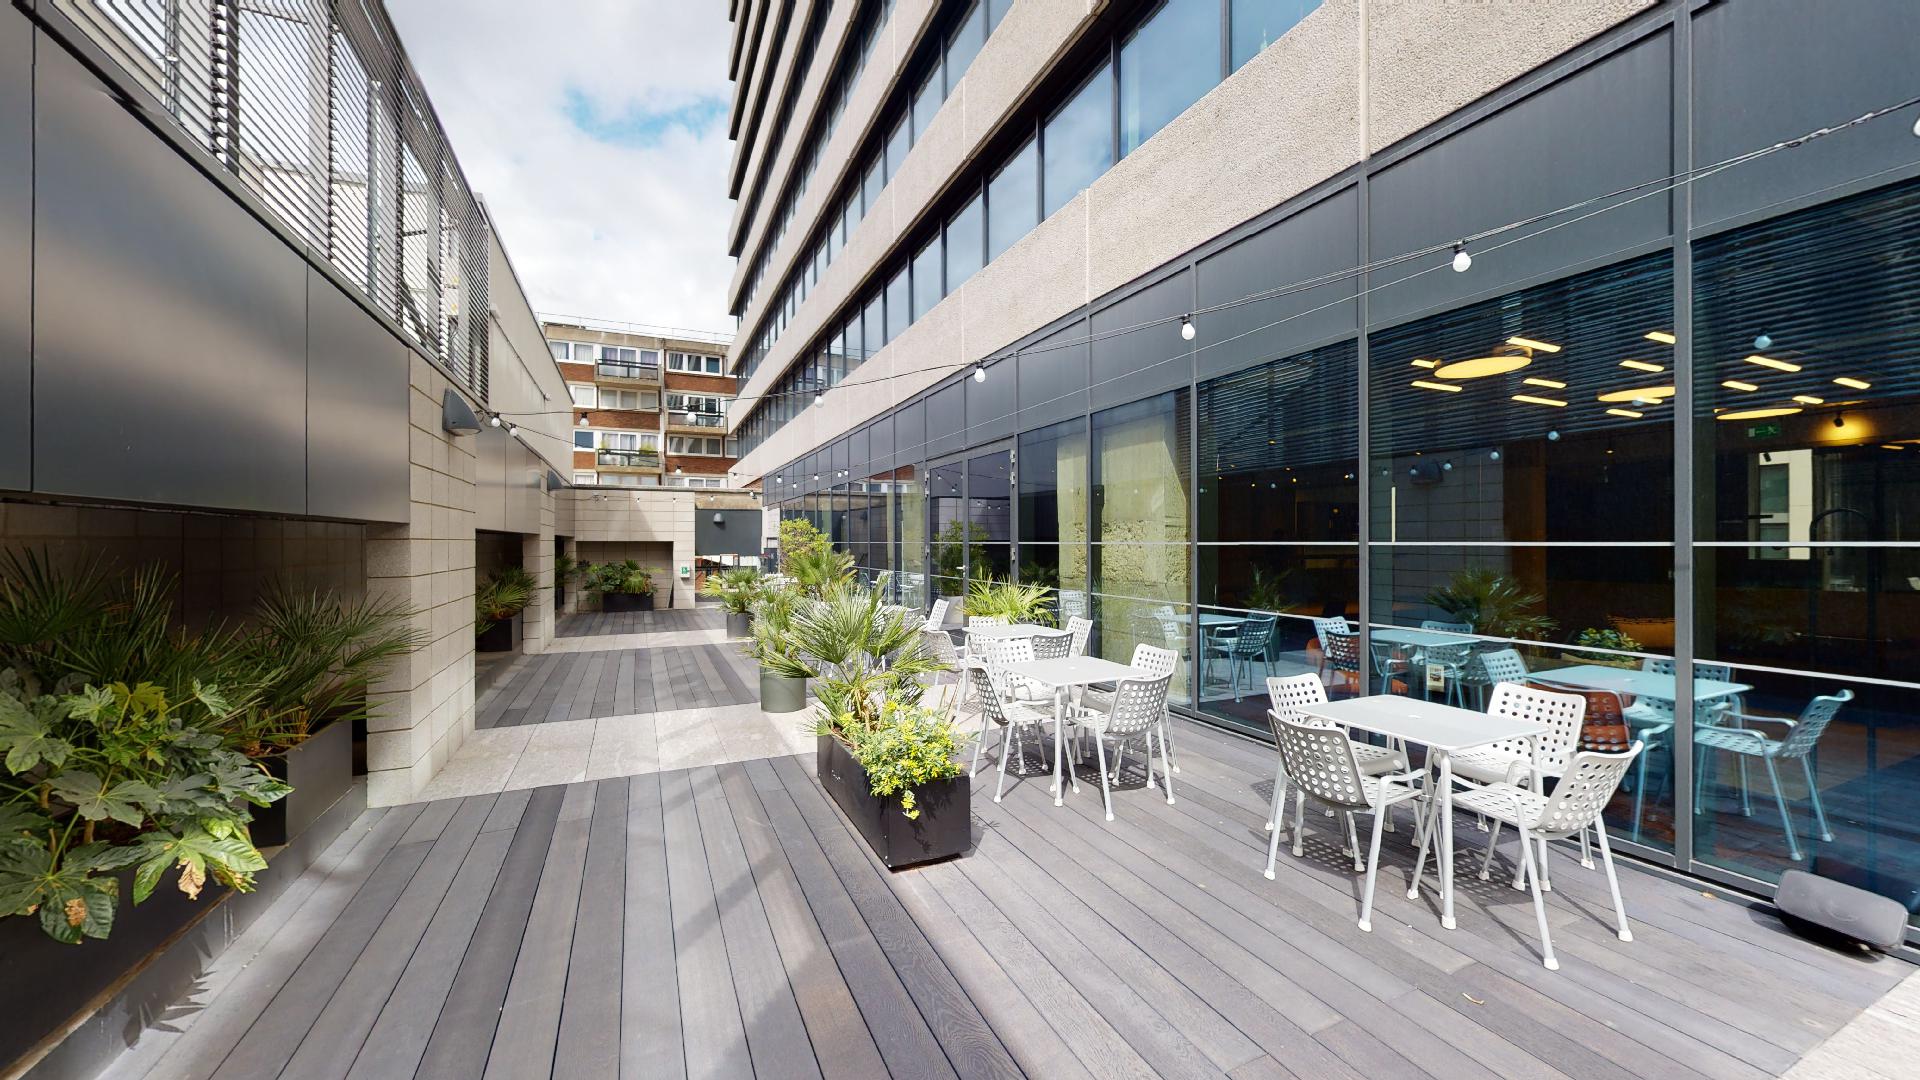
Another thing to note is most virtual tour cameras are primarily designed for indoor use. Outdoor 3D scanning can be affected by conditions such as direct sunlight & adverse weather due to the infrared and UltraViolet light interference, which can cause errors.
Scanning your space at dawn, dusk or in overcast weather are options when it comes to exterior scanning but it can, of course, be temperamental. We recommend that if 3D scanning an exterior area is not essential, creating a 360° panoramic image of the area can still give users a great view of the exterior without the 3D data. If it is a necessity to complete a 3D scan of the exterior then utilising some higher spec equipment that’s designed for larger outdoor scanning is alway an option. However, using this sort of equipment has its own associated costs so it’s important to discuss this with your virtual tour provider before they arrive at your property or business.

Here are a few helpful things to consider when preparing an outside area for a virtual tour:
So there you have it, a full guide on how to prepare for a virtual tour. We hope you’ve found this helpful and if you would like to learn more about virtual tours check our learning hub that has a range of articles covering everything from virtual tour pricing to virtual tour myth busting.